DAY 5: Making Mask Accessories
March 19, 2021
During these seven days of Spring Break, you may want to do something you’ve never really done before. Something useful, but won’t make you look like a complete idiot for using it. Something that will either take you two seconds or two hours to do, depending on your skills. Something that has “mask” and “accessories” in its name. And that something is, mask accessories.
The “official” name for this craft isn’t “mask accessory”, it’s “mask chain”, but, instead of making a literal chain, you’ll be making something closer to a necklace. This “mask necklace” (as it should be called) will relieve you from that small inconvenience of having to hold your mask or put it in your bag when you don’t need it.
Now, there are two ways to make this “mask necklace.” The first way cost about five dollars at most.
The materials needed for the first way are listed below:
- One shoelace
- Pony beads
- One plastic plate
- One mask
The second way is a more expensive.
The materials (and recommendations) needed for the second way are listed below:
- Beading Wire (Soft Flex Beading Wire)
- Seed beads or any beads of that size
- Optional: character beads (Round Alphabet Beads, Smiling Flower Beads, and Fruit Beads)
- Scissors
- Two crimp beads
- Flat nose pliers
- One binder clip
- Two lobster claw clasps
- One (or more) plastic plate(s)
- One mask
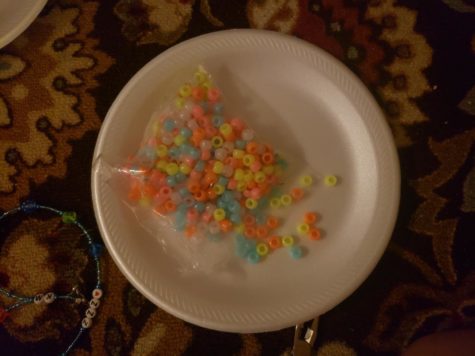
The cheaper way of making the mask necklace is also the easiest way. First, you’ll start off by dumping the pony beads into a plastic plate. This makes it easier for you to pick-up each individual pony bead.
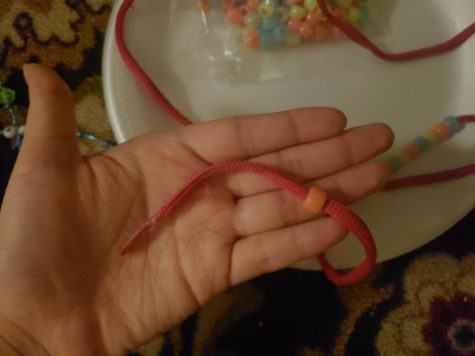
Put the shoelace through each pony bead, but leave a good portion of both ends of the shoelace empty. Pick up a bead (let’s call him Simon) and put one end of the shoelace through it.
Take the ear strap of your mask, loop the end of the shoelace through the ear strap, and then stick the end of the shoelace through that same bead (called Simon).
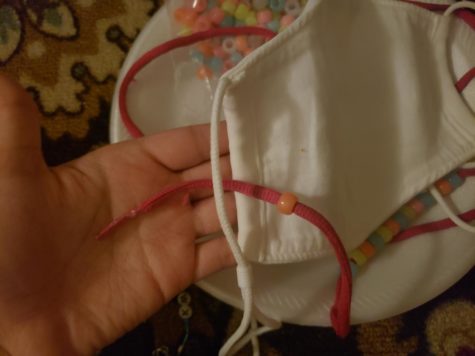
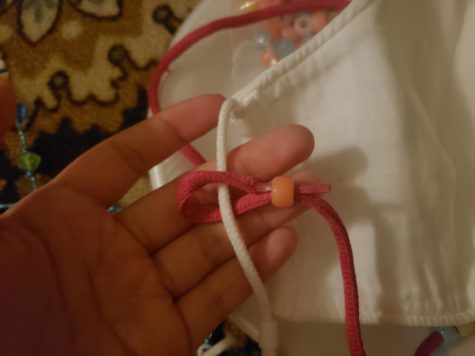
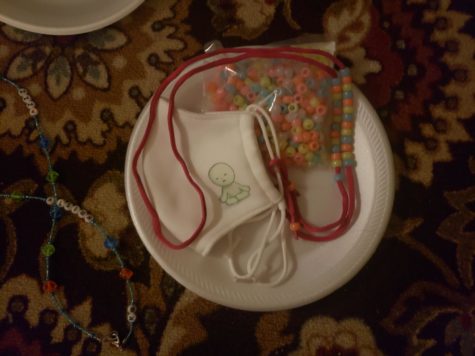
Now you’re done!
The expensive way of making the “mask necklace” is a bit more complicated. First, you’ll start off by dumping your seed beads into their respective plastic plates. These beads will be separated by color.
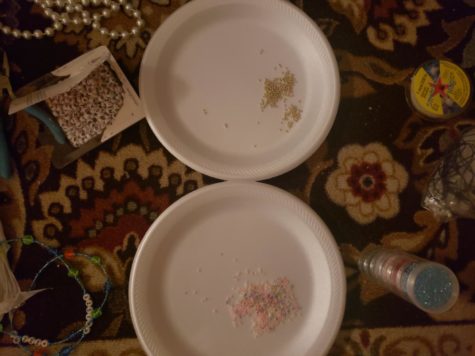
After you’ve sorted out your beads, put the beading wire around your neck and cut it once it’s as big as a necklace. Take the beading wire off your neck and clip one end of it with a binder clip. This binder clip help prevents the beads from falling off. With the unclipped end of your beading wire, start making the pattern for the “mask necklace.”
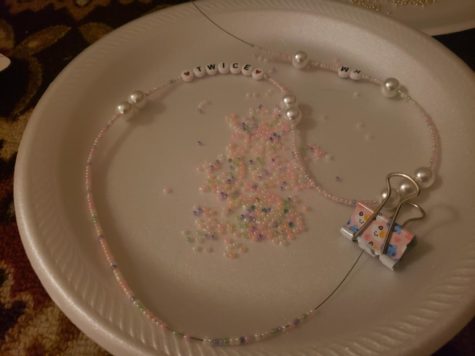
Once you’re done with the pattern, put the end of your beading wire through the crimp bead (call him Mark), then put it through the hole at the end of your lobster clasp.
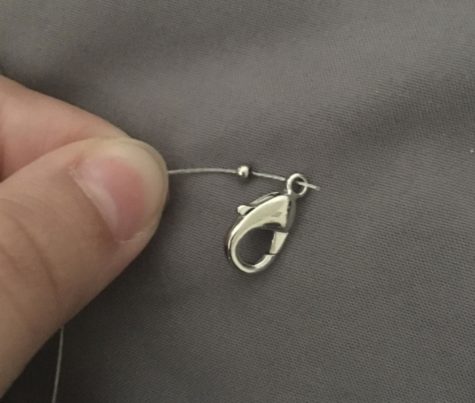
Take that same end and put it through the same crimp bead (called Mark).
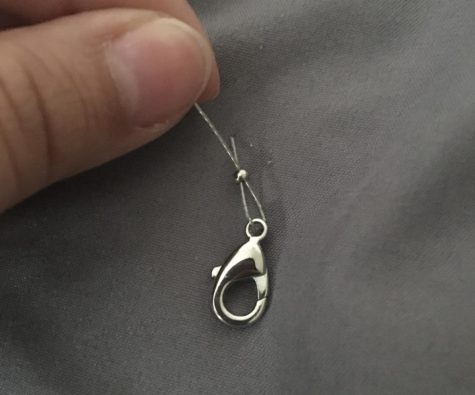
To finally finish that side of your mask necklace, take the flat nose plier and flatten your crimp tube. Now do the same thing to the other end of your mask necklace.
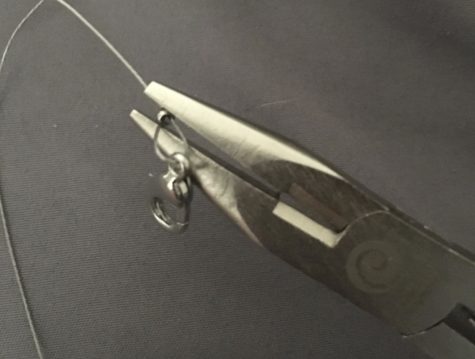
Now you’re done!
With this mask necklace you’ll be a little more fashionable and (maybe) happier.


